

.jpg)


Advertisement by Google:
A basic knowledge doesn’t hurt you at all. Hence, it is your foundation to move forward in advance. For you to become a blogger, you must know the basic photography, basic in writing, basic web design and basic html/css coding. Moreover, for you to become a YouTuber, you must know the basic video editing, filming and lightings. Whomever you knew who is successful in his/her field starts on basic.
Just like in this post, I am showing you guys my basic knowledge in photo editing using Adobe Photoshop software. Truly, in blogging, I should know the basic concept of this Photoshop thingy because it helps me a lot in enhancing my photos before uploading it online. I tried to slowly step up my basic knowledge by practicing it in my workmates' photos.
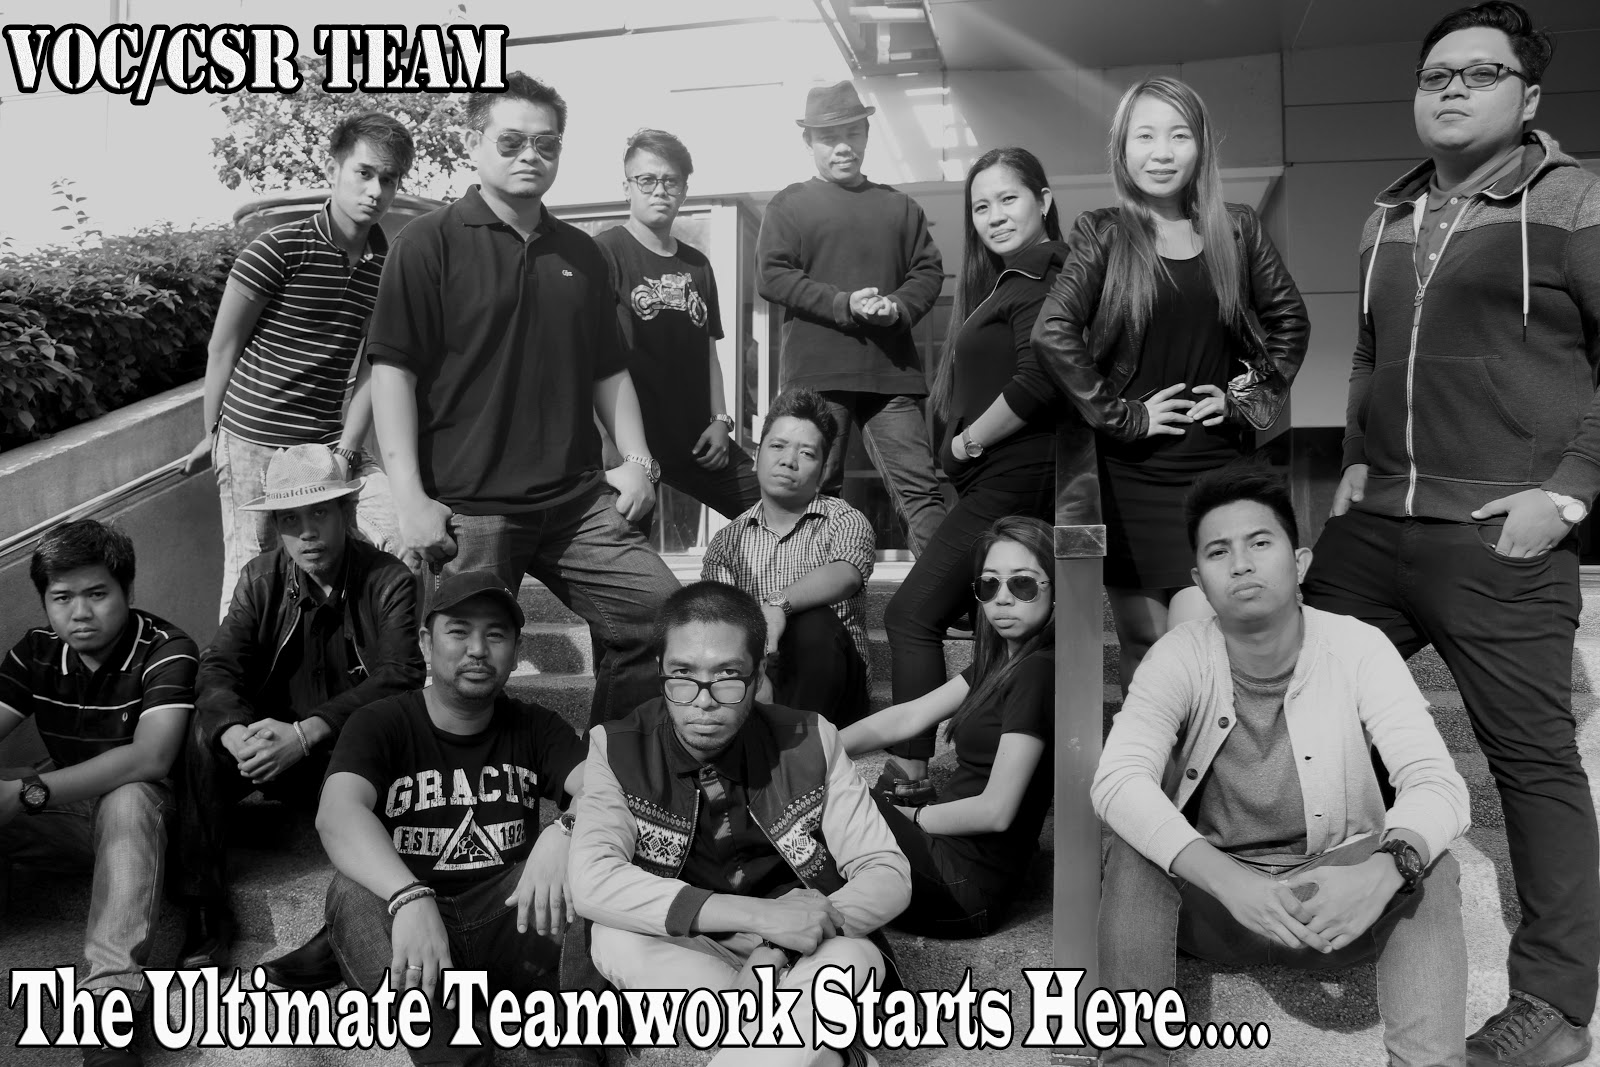
Before:
If you notice in this raw photo, it is much overexposed due to the strong light coming from the sun. I increased the ISO level on this assuming that it was a perfect shot but when I review it in my laptop- it is too much exposed and it looks unnatural.
 So what I did was, I decreased the brightness in post-editing. I also increased the contrast so that the shadow and black side will arise. Since majority of the outfit of the subjects are more into black, I decided to lower the lightness to complement the motif.
Also I tried the Black and White concept since not all of the subjects are wearing the same colours. So to create a visual of uniformity, I considered the Black and White Feature.
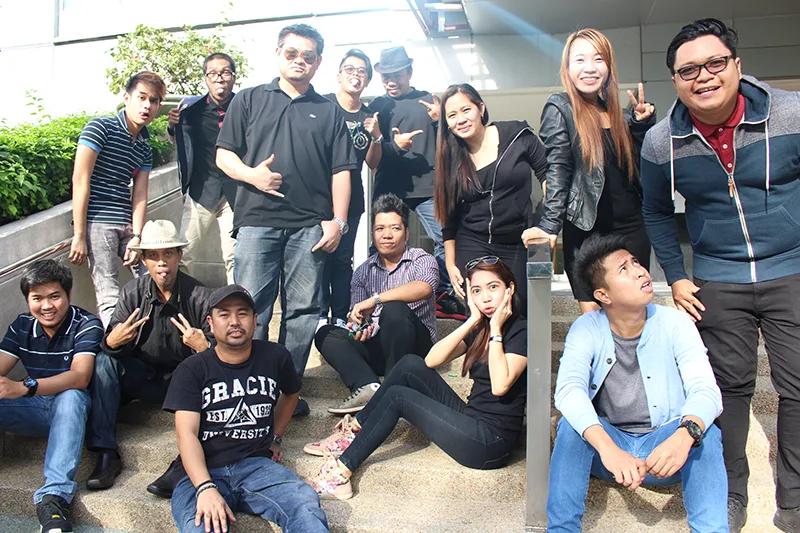
BEFORE

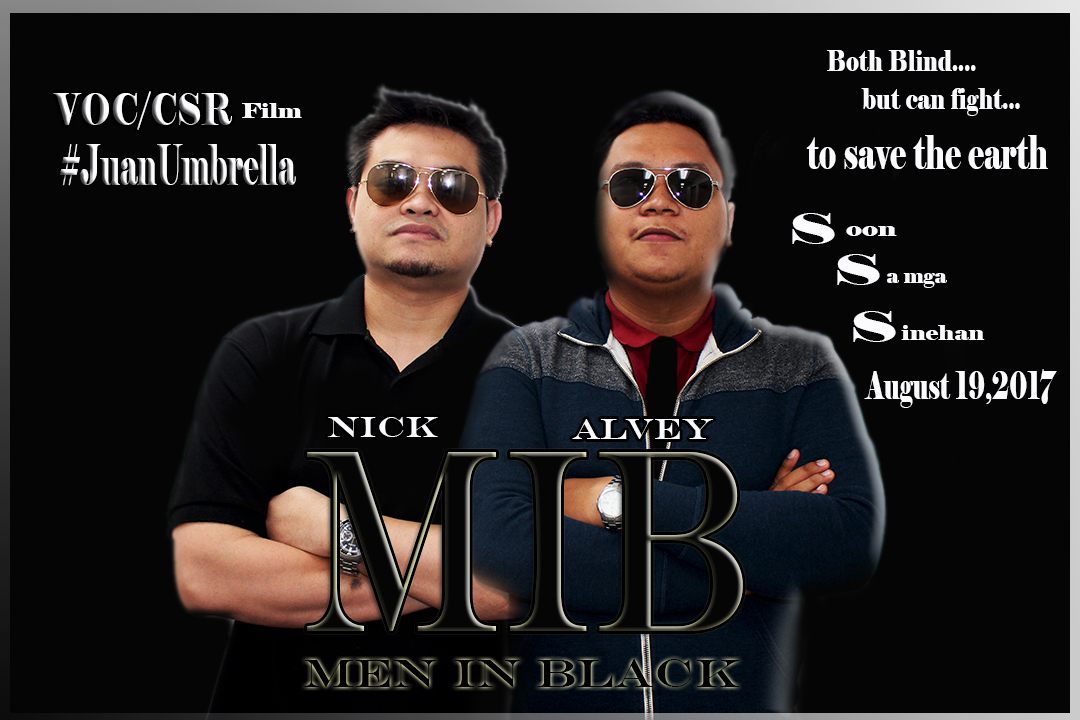
BEFORE:
I asked NICK and ALVEY to pose as the characters of the Movie – MEN In BLACK. My challenge in editing this raw photo was the lighting. The original MIB has a back-light or also known as hair light. This light is to create a 3D effect of the subject or two emboss the subject which in this case – it was NICK and ALVEY.

After:
What I did was, I cut scrupulously the edges of the body of the subjects and put the black background. To create a back-light effect, I blended the subject’s body and put an emboss effect. I also blurred the edges of the body so that it will no longer noticeable that I just cut-off their body. In addition, I created another layer for Alvey’s body so that I can easily overlay it on Nick’s body -making them a little bit closer to each other.
BEFORE:
Notice the raw photo below, it is pale. Obviously, it blended the white backdrop and the ambiance light of the location

After:
Since I was trying to emulate the Charlie’s Angel movie poster, I have to consider the powerful concept. Since the raw file is quite pale, I just enhanced the saturation and vibrant colour so that the skin tone will look more natural. I also augmented the orange-ish side of the photo to look more visually hot. The white backdrop remains as it is - looking more clean and femme.

BEFORE:
The challenge of this photo is how to
remove the floor that has a carpet without sacrificing the details. In this
photo (Nonie, John and JB) were trying to imitate the poster of an Indian movie
– 3 idiots.


AFTER:
What I did was, I overlaid their second picture right below their chair. I also put figures – square, circle and triangle – to emphasize their faces. Moreover, I need to highlight the subjects’ cuteness and stubbornness w/o changing the backdrop’s colour as it remains plain white.

BEFORE:
Good thing, these two guys were easy to absorb instruction. I told them to pose in a dramatic face which is full of loneliness and incompleteness.

I was trying to create a poster of the
movie “Brokeback Mountain” wherein the backdrop looks like a ranch. I didn’t download
any backdrop online that is similar to the movie yet I used my own captured
photo. The said photo was taken during my Calaguas Island Travel.

AFTER:

It was truly a problem if you have missing props during photo shot. In this case Cesar, A and I were trying to pose like a Harry Potter Movie. However, we don’t have any magic stick; thanks to adobe Photoshop and I instantly created those missing props.

Just like on what I did on the preceding
photo – I didn’t download any backdrop hence I used my own photo. This was
taken during my Cebu Travel wherein I visited Simala Church. The architectural
design of the church is very majestic which is perfect as a backdrop for a
majestic movie poster.

The original Harry Potter Movie poster favors the dark part of the colour wheel. And so, I attuned both our photos and the church photo into more dark hue to perfectly copy the Harry Potter’s grandiose feeling. And then overlay it.

Undeniably, the outputs that I made were not perfect in comparison to those images that I’ve been seeing in magazines, blogs and prints. I knew deep within -I still have to study hard to level up my basic knowledge into an advance state of this Adobe Photoshop thingy. Yet, I’m still happy of what I came up for the reason that I gave my best, just to finish this challenge.


No comments
Post a Comment
Dont forget to leave your comments here!